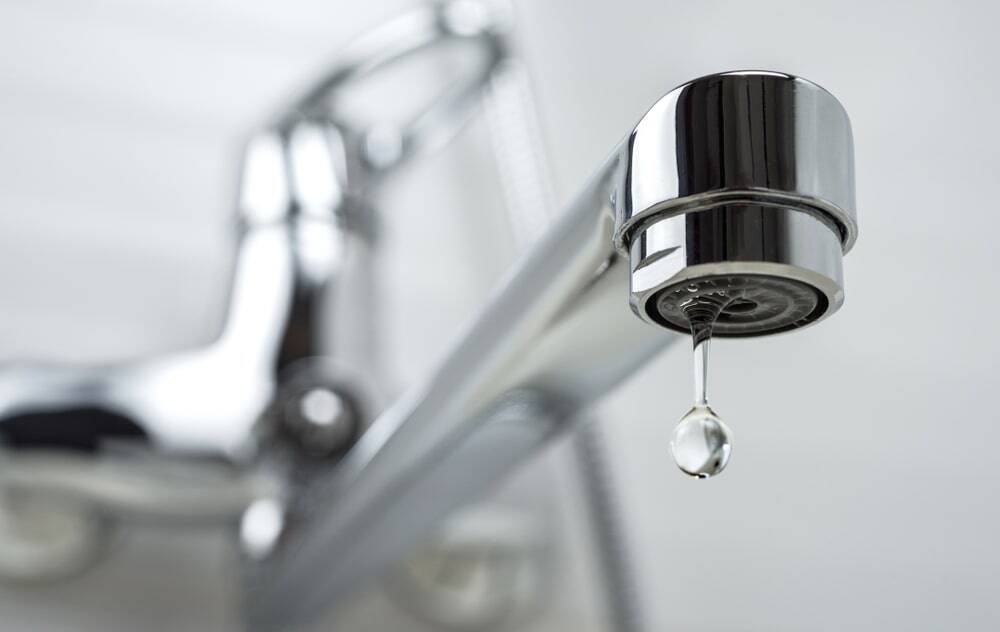
A leaking tap can be frustrating, especially when it leads to wasted water and higher bills. Luckily, fixing a leaking or dripping tap is usually straightforward, and with the right tools and guidance, you can do it yourself.
In this guide, we’ll cover the common causes of a leaking tap, how to fix them, and when it’s time to call in a professional. We’ll also provide step-by-step instructions for fixing both compression valve taps and ceramic disc valve taps, so you’re fully prepared to tackle the job.
Why is my tap leaking? The top 5 causes of a leaking or dripping tap
Before diving into the repairs, it’s essential to understand what might be causing your tap to leak or drip. Here are the most common culprits:
- Damaged valve seat
The valve seat connects the tap to the spout and, over time, can become corroded or worn, leading to leaks. - Worn-out O-ring/rubber seal
O-rings provide a tight seal between different parts of the tap. If they become worn or damaged, leaks are likely to follow. - Inconsistent water pressure
Sudden changes in water pressure can stress your tap, leading to leaks, particularly around the spout or handle. - Damaged washer
A worn or cracked washer is one of the most common causes of a leaking tap. Washers are critical in sealing the valve to prevent leaks, especially in compression valve taps. - Broken cartridge
Modern monobloc taps often use ceramic cartridges. If you have a cracked or damaged ceramic cartridge, it can result in a persistent drip from the spout.
To successfully fix a leaking tap, you also need to determine where the leak is coming from:
- If water is leaking from the spout, you'll likely need to replace the washer.
- If water is leaking from beneath the handle, the valve O-ring may need replacement.
- If water is leaking beneath the spout, it’s time to replace the spout O-ring.
Tools you may need to fix a dripping tap
- Flat head screwdriver
- Adjustable spanner or box spanner
- Allen key or hex key
- Old towels to catch any water
How to replace a tap washer or leaky tap valve
When it comes to fixing a leaking tap, the type of valve your tap has will determine the type of repair and washer replacement needed.

There are generally two types of tap valves used:
- Compression valve taps: These traditional taps require a full turn or more to reach maximum water flow. They use rubber washers to form a watertight seal, but over time, these washers wear out, causing dripping taps or leaking taps.
- Ceramic disc valve taps: Modern taps, such as monobloc lever taps, often use ceramic discs instead of washers. A monobloc tap reaches its maximum water flow with just a half-turn or less, and the ceramic disc valve provides a durable, long-lasting seal. However, if the ceramic discs become damaged or worn, the tap will leak, and the discs will need replacing.
To further distinguish between hot water and cold water taps, hot water valves typically have a red bottom seal, while cold water valves have a blue bottom seal. The direction in which the valve turns to control the water flow will also differ depending on whether it’s for hot or cold water.
Before starting any plumbing work, always turn off the main water supply to avoid flooding. Make sure there's no cold or hot water left in the taps by running the taps until the excess is drained, and remember to plug the sink to avoid losing small parts like screws or washers.
When replacing washers or tap valves, it's important to avoid over-tightening. Over-tightening the washer or valve can put excessive stress on the parts, leading to a constant drip or causing the tap leaking issue to return.
How to fix a compression valve tap
If you have a compression valve tap, follow these steps to fix it:
Step 1:
Remove the handle cap to access the screw inside. Using a flathead screwdriver, unscrew the handle and remove it. Unscrew the valve cover to expose the valve.
Step 2:
Use an adjustable spanner to loosen the valve and remove it carefully.
Step 3:
Hold the valve steady with the spanner and use a screwdriver to remove the screw holding the washer in place. Replace the old washer with a new one.
Step 4:
Reassemble the valve, cover, and handle. Secure the handle cap back in place.
How to fix a ceramic disc valve tap
For ceramic disc valve taps, the process is slightly different:
Step 1:
To access the valve, remove the handle cap. Depending on your tap's style, you may need an Allen key or hex key.
Step 2:
Loosen the valve using an adjustable spanner and remove it.
Step 3:
Check for any damage or grime on the ceramic disc valve. Clean or replace the valve if necessary. Secure the valve and handle cap back into position.
How to replace a tap valve O-ring
O-rings are essential for sealing your tap. If the leak is coming from beneath the handle, you’ll need to replace the valve O-ring. Here’s how:
Step 1:
Using the instructions above, remove the valve.
Step 2:
Carefully remove the worn O-ring with a flathead screwdriver. Replace it with a new one and reassemble the tap.
How to replace a tap spout O-ring
If the leak is coming from beneath the spout, follow these steps to replace the spout O-ring:
Step 1:
Access the tap from underneath the sink and use a box spanner to loosen the nut that secures the tap.
Step 2:
Twist the tap around and unscrew the small grub screw located near the base.
Step 3:
Lift the spout and remove the O-ring at its base. Replace it with a new O-ring.
Step 4:
Reassemble the spout, align the markers, and secure everything back into place.
When to call in a JustFix professional
While fixing a leaking tap is often manageable as a DIY task, some problems may require professional help—particularly if you’re dealing with a broken ceramic cartridge or widespread leaking.
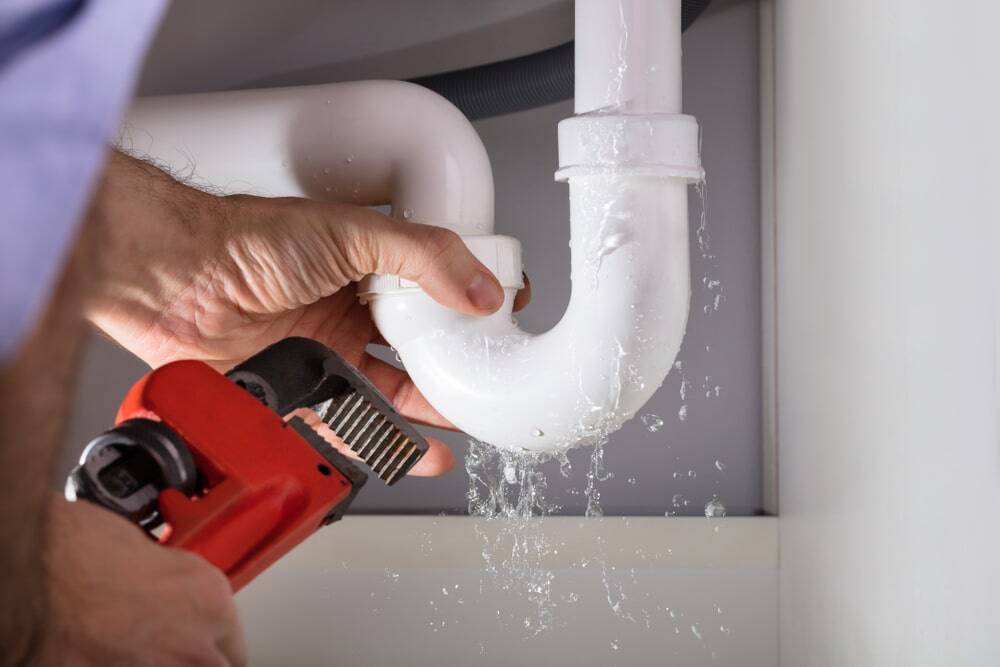
Get in touch with a qualified plumber at JustFix, the home of high-quality service and affordable prices.
Our teams of Fixers work nationwide to provide you with professionals for fair, fixed prices. It's pretty simple, really. We're surprised no one's done it before.
When you book online with us or via the JustFix app, we'll match you with a qualified local plumber who can come and fix your taps at a time that suits you. Check out our guide on how JustFix works for more info.

For more DIY tips and tricks, see our helpful guides on topics like how to get rid of mould in your bathroom, how to avoid frozen pipes, and more.